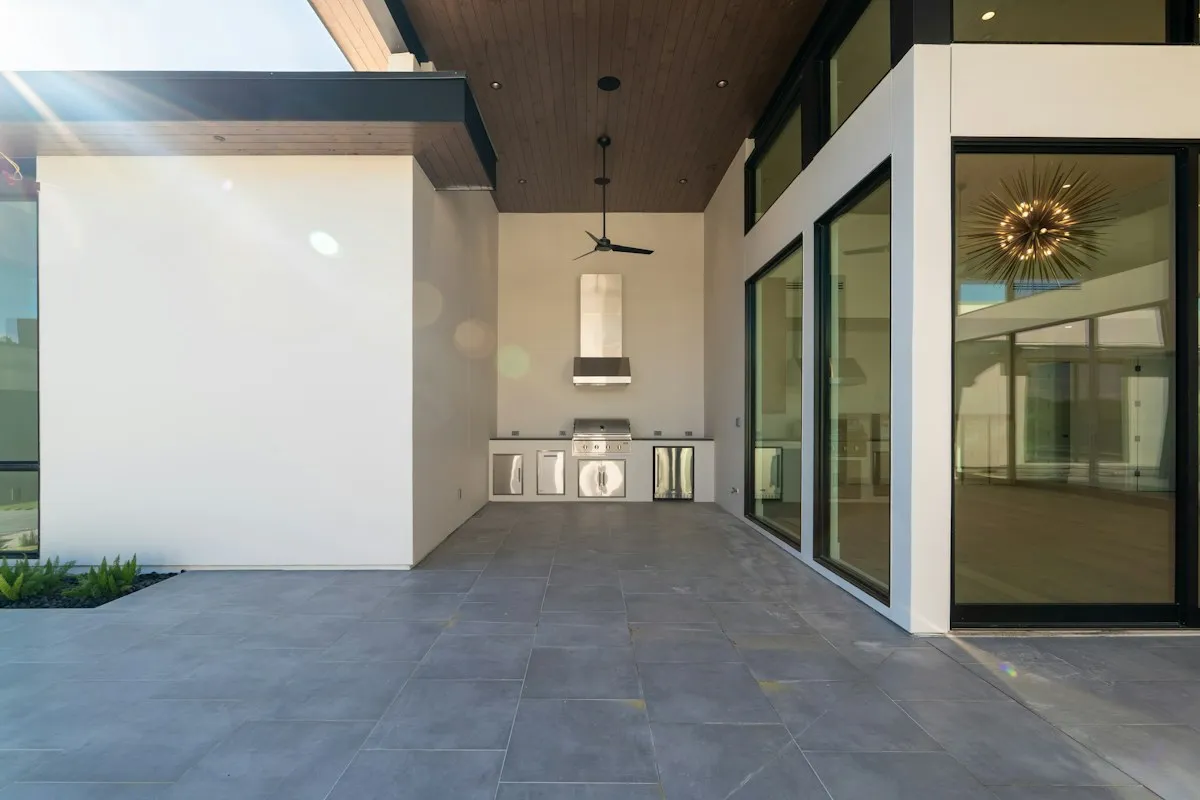
An outdoor kitchen is one of the most popular backyard upgrades in Southern California, and a natural gas line is what makes it easy to use. No more running out of propane halfway through dinner. But running gas outdoors involves more planning than most indoor gas work. Here is how a gas line gets from your meter to an outdoor kitchen or BBQ grill, and what you should decide before work starts.
This guide explains the process so you can plan your project and talk with your contractor. Gas piping work typically requires a permit, and it should be done by someone who works on gas lines regularly.
Step 1: Decide everything you want to run
Before anything else, list every gas appliance you want outdoors, now and in the next few years. Common ones include:
- A built-in grill or BBQ
- A side burner or griddle
- A pizza oven
- A fire pit or fire table
- A patio heater or outdoor fireplace
- A pool or spa heater
Each appliance has a gas rating in BTUs per hour, usually listed in its manual or on its data plate. Add them up. That total, plus the length of the run, decides how big the gas line needs to be.
Planning for future appliances matters. If you size the line for a grill now and add a fire pit and pool heater later, you may need a second trench. Sizing for everything up front costs less over time.
Step 2: Check your existing gas supply
The new outdoor line connects to your existing gas system. The question is whether that system can carry the extra load. If your house already runs a furnace, water heater, range and dryer, adding a large outdoor kitchen and pool heater may require upsizing part of the main line from the meter.
A gas line pro will total up the load of every appliance, indoor and outdoor, and check the size of your existing pipe.
Step 3: Plan the route
Next comes the route from the gas supply to the outdoor appliances. Good planning considers:
- The shortest practical path from the supply point
- Where patios, walkways and pavers are or will be
- Where trees, planters and irrigation lines are
- Where each appliance will sit and where its shut-off valve will go
If your backyard project is still in planning, this is the best time to settle the gas route. Running the line before concrete is poured or pavers are laid is far easier than cutting through them later.
Step 4: Mark underground utilities
Before any digging, existing utilities have to be located. In Southern California, DigAlert, the regional 811 center, arranges for utility lines to be marked. Private lines on your property, such as irrigation, low-voltage lighting or an existing line to a pool heater, are usually not marked by utilities, so they need to be found separately.
Step 5: Trench and lay the pipe
Buried gas lines are usually yellow polyethylene pipe made for gas. It does not rust, and it is laid with a tracer wire so the line can be located in the future. The trench has to reach the minimum burial depth set by code for your type of pipe and location.
Where the line comes out of the ground near the appliance, a riser transitions from the buried plastic pipe to metal pipe above ground. Above-ground pipe should be protected from damage and supported properly.
Step 6: Install shut-off valves
Each outdoor appliance should have its own shut-off valve within easy reach. That way you can turn off the grill or fire pit without going to the meter. For built-in grills, the valve is often installed inside the island with an access door.
Step 7: Pressure test before backfilling
With the trench still open, the new line is pressure tested. The pipe is closed off, filled with air to test pressure and watched on a gauge. If it holds, the line is tight. An inspector may also need to see the open trench and the test before backfill. Our gas pressure testing page explains how these tests work.
Step 8: Backfill, connect and light
Once the line passes, the trench is backfilled and the surface restored. Then each appliance is connected to its valve with the right connector, every joint is checked for leaks with gas on, and the appliances are lit and checked.
Can I convert my propane grill to natural gas?
Only if the manufacturer offers a natural gas conversion kit for that model. Propane and natural gas run at different pressures and need different orifices. Using a propane grill on natural gas without converting it can produce a weak, unsafe flame. If you are buying a new grill, choose a natural gas model.
Common mistakes to avoid
- Undersizing the line. A line too small for the load leaves burners weak when several appliances run at once.
- Skipping future plans. Adding appliances later can mean a second trench.
- Building first, piping later. Pouring a patio before the gas line is in means cutting concrete.
- No shut-off at the appliance. Every outdoor appliance needs its own accessible valve.
- Burying pipe not made for it. Underground gas lines need pipe rated for burial.
Working with your landscaper or contractor
Most outdoor kitchen projects involve several trades. The best results come when the gas line is scheduled after layout is final but before concrete, pavers and planting. Share the appliance list and layout early so the line can be sized and routed right.
Getting started
For outdoor gas line installation in Cerritos and nearby cities like Cypress and La Palma, our outdoor gas lines service covers planning, trenching, installation, testing and connection. Call us early in your project and we will help you plan the line around your backyard.